The metal casting process has been used for centuries to create strong, precise metal parts used in everything from industrial equipment to household products. While modern manufacturing has introduced many advanced techniques, casting remains one of the most reliable and versatile ways to produce complex shapes and durable components.
Although the concept sounds simple, the actual workflow involves several carefully controlled steps designed to ensure quality, accuracy, and consistency.
Table of Contents
Step 1: Creating the Pattern
The first stage involves producing a pattern, which is essentially a model of the final part. This pattern is used to create the mold that will shape the molten metal. Patterns can be made from materials such as wood, plastic, or metal, depending on the type of casting method being used. Accuracy at this stage is critical because any imperfections in the pattern may transfer to the finished component.
Step 2: Preparing the Mold
Once the pattern is complete, it is used to form the mold cavity where the molten metal will be poured. Molds can be made from several materials, but sand molds are among the most widely used because they are flexible, cost-effective, and capable of producing intricate shapes.
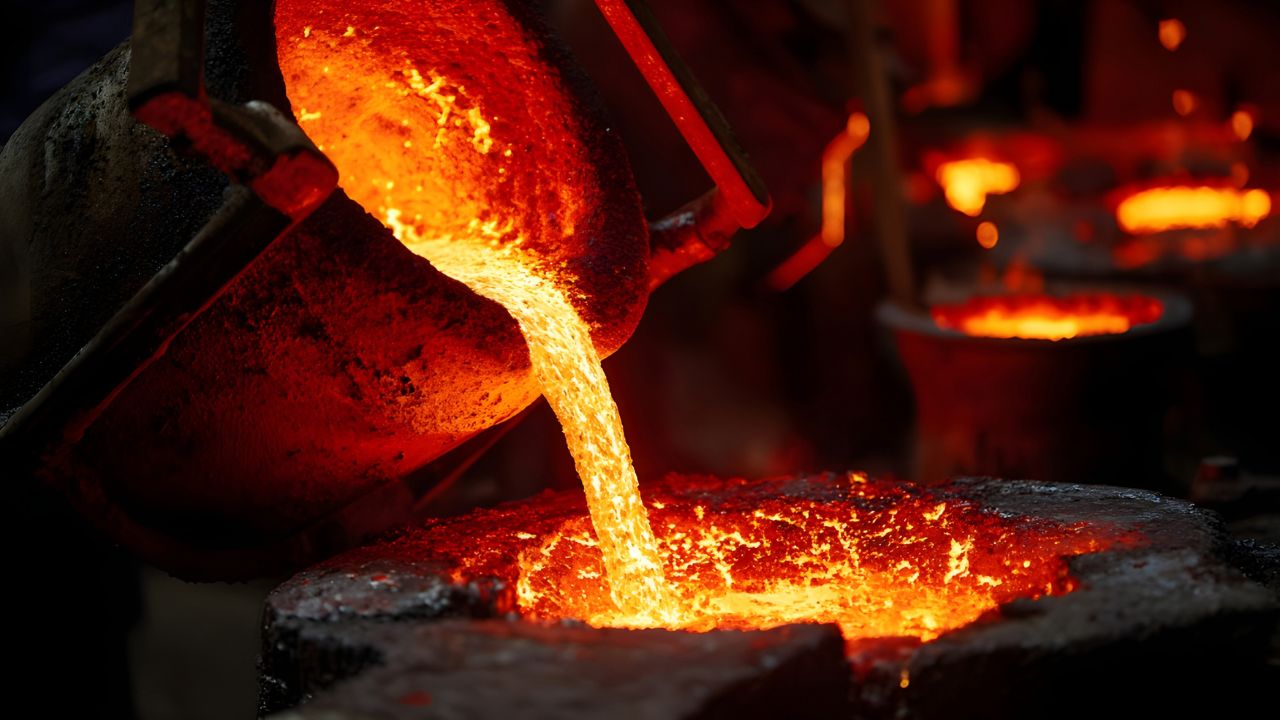
Step 3: Melting the Metal
After the mold has been prepared, the selected metal is heated in a furnace until it reaches a molten state. The temperature required depends on the type of metal being used. Common metals used in casting include steel, iron, brass, bronze, and aluminum castings, which are widely preferred for their lightweight and strength.
Maintaining the correct temperature is essential. If the metal is not heated enough, it may not flow properly into the mold. If it is overheated, the material properties may be affected, which could compromise the strength or quality of the finished product.
Step 4: Pouring the Molten Metal
Once the metal reaches the proper temperature, it is carefully poured into the mold through the gating system. This step must be performed with precision to ensure the metal fills the entire cavity without trapping air or creating defects.
The molten metal flows through the channels and fills the mold cavity, taking on the exact shape of the pattern that was used to form it.
Step 5: Cooling and Solidification
After the mold is filled, the metal must cool and solidify before the part can be removed. Cooling time depends on the size of the casting and the type of metal used. Larger or thicker components generally require more time to cool completely.
As the metal cools, it hardens into the shape of the mold. Proper cooling is important because uneven solidification can lead to internal stresses or structural weaknesses.
Step 6: Removing and Finishing the Casting
Once the metal has fully solidified, the mold is opened or broken apart to reveal the casting. Any excess material from the gating system is removed, and the part may undergo finishing processes such as grinding, machining, or polishing.
These finishing steps ensure the component meets the required specifications and surface quality standards.
Final Thoughts
Despite advances in manufacturing technology, the metal casting process is still one of the most practical ways to produce complex metal components. Its ability to create durable parts in a wide range of shapes and sizes continues to make it valuable across many industries, especially when trying to create reliable and precise metal products.