Without any doubt, a complementary set of window curtains can transform any boring, drab-looking space into a pleasant, refreshing, elegant, and attractive interior therefore, the importance of the ideal choice of curtains becomes evident. However, there’s another factor that’s equally as important as the right choice of curtain elements i.e. planning and installation.
No one can deny the importance of the curtain installation procedure because that’s what decides the final appearance of your valuable investment.
If you’ve decided to hang curtains from the ceiling and are looking for a step-by-step guide to move on with the installation procedure, then you’re really fortunate because this article by Design Furniture will cover all the necessary aspects of hanging curtains from the ceiling.
Table of Contents
The Step-By-Step Guide To Hang Ceiling Curtains | A DIY Installation Procedure
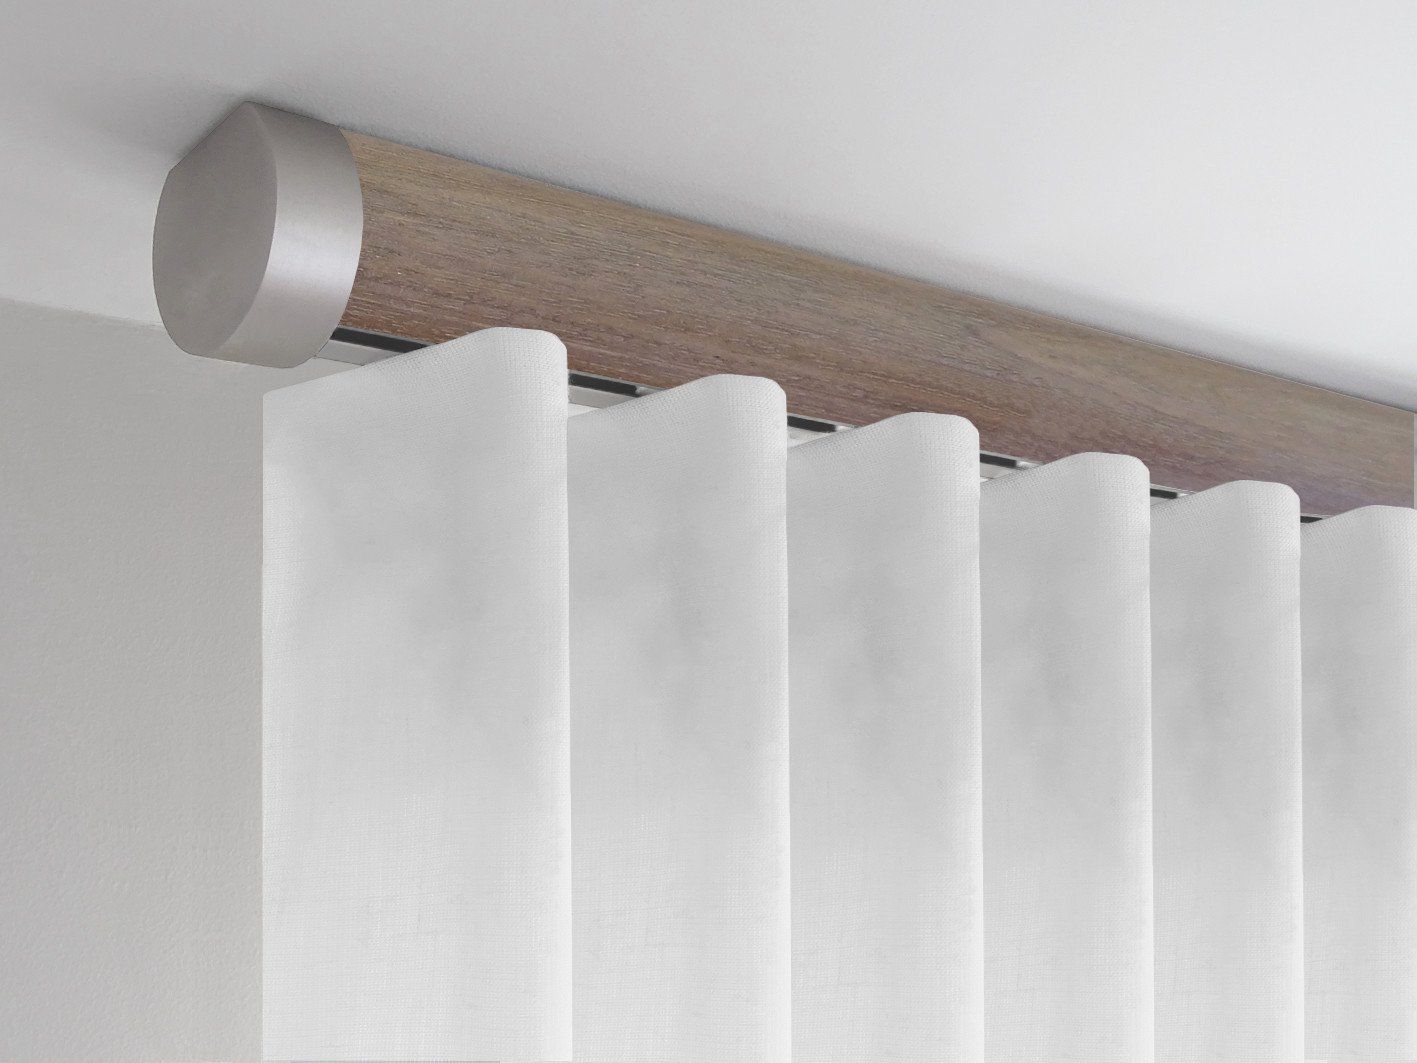
This style of hanging curtains is also called floor-to-ceiling curtains and can function to revamp the interior in the true sense. Also, there are many more benefits of hanging curtains just below the ceiling like creating an illusion of a more spacious, magnificent interior, etc.
For this purpose, you’ll need to take into consideration many different factors including the room’s height measurement, curtain rod selection, window dimensions, etc. So, let’s move on to the installation procedure without any further delay.
Materials/Equipment Required For The Installation
Obviously, you’ll require many different materials/equipment for a precise and efficient completion of the installation procedure. Therefore, we’ve listed below all the required supplies that are to be arranged on priority for convenience purposes.
- A Stepladder
- Cordless Drill & Driver
- Spirit Leveler
- Curtains
- Curtain Rod
- Rod Brackets
- Screws & Plugs
- A Pencil (For Marking Purposes)
- A Ruler Or Tape Measure
1. Measure The Ceiling & Mark The Points
The first and foremost thing is to measure the height of your ceiling from the floor using a tape meter. Don’t try to hustle at this point because a mismeasurement can cost your valuable investment. The best approach is to take multiple measurements so as to be precise and accurate for this factor.
Also, you should take assistance from a fellow who can keep the bottom end of the tape completely pressed against the bottom of the wall. After taking the measurement, you should mark the desired spots to be drilled for curtain rod installation using a pencil.
Last but not least, always make use of a spirit leveler to mark the spots at both ends for the curtain rod installation. Otherwise, you’ll end up mismatching the spots which will ultimately lead to drilling holes on the wrong levels thus, damaging your home interior décor besides adding to the overall effort of the installation procedure. Or you can get amazing curtain fixing service by experts.
2. Install The Rod Brackets Or Curtain Hardware
Moving on to the next step of the installation procedure, you’ll be required to install the rod brackets. For this purpose, you have to drill holes in the marked points on the ceiling. But before that, you should check again for the same level of the holes using a spirit leveler.
Now, drill the holes and plug in the brackets using screws. The ideal length of screws for this purpose is 1 to 1.5 inches and therefore, the ceiling should be drilled accordingly. After installation, check for the strength or grip of the rod brackets via a gentle push-and-pull action. By doing this, you’ll make sure that the brackets are tightly held and can bear the weight of the curtain rods.
3. Pass The Curtains Through The Curtain Rod
Another thing that should be kept in mind is the placement of the curtains in the curtain rod before mounting the rod on the brackets. This will help you remove the curtains along with the rod in case of any irregularity or imprecise installation.
Also, this accounts for an efficient hanging of the curtains as you won’t be needing to stand on the ladder for too long and pass the curtains through the rod.
4. Fit The Curtain Rod In The Brackets
The last step is to properly fit the curtain rod in the brackets for completing the installation procedure. In this concern, you should be careful about the loose placement of the curtain rod because if so, then there are chances of falling off the rod.
Also, the curtains won’t open or close smoothly because of the unbalanced positioning of the rod. No need to mention that an improper curtain rod adjustment in the brackets will make the curtains look uneven thus, causing a drastic effect on the interior decor and styling.
The Bottom Line
Floor-to-ceiling curtains are one of the best ways to get the most out of your window coverings, especially in the case, you’re facing interior space problems. Besides, this curtain-hanging style can help you create an impression of a luxurious and delightful home interior.
Our today’s article comprises a step-by-step, comprehensive guide on the topic of hanging curtains from the ceiling. In addition to explaining the steps, we’ve enlisted all the required supplies that should be arranged before starting with the installation procedure. We assure you that this guide will help you with a smooth, efficient, and precise installation of your floor-to-ceiling curtains.
Read More: Business Fig