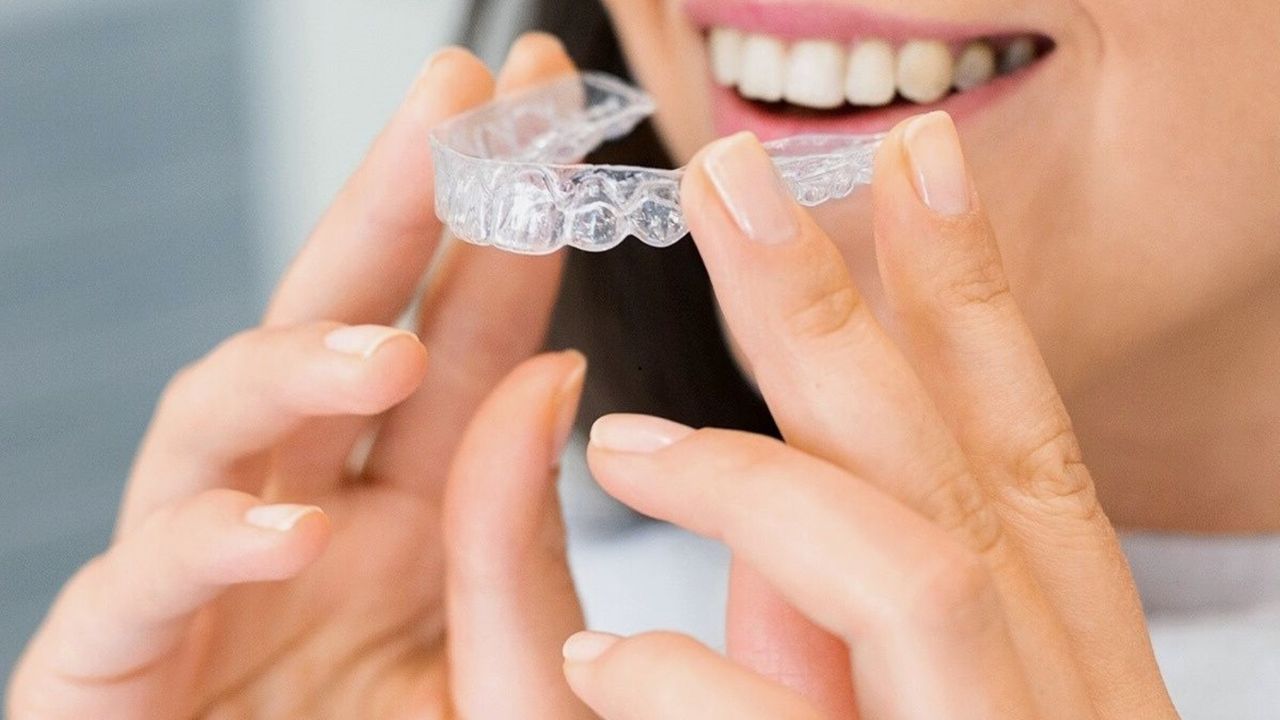
You might be looking in the mirror, seeing your teeth slowly getting straighter from aligners or braces, yet still feeling a little disappointed. Maybe your teeth look a bit yellow in photos. Maybe a small chip suddenly catches your eye now that everything is lining up. With family and cosmetic dentistry in Salinas, you can address these concerns while your teeth are being straightened. You are doing the hard work with orthodontics, so why doesn’t your smile look the way you hoped it would, at least not yet.end
If you are trying to coordinate orthodontic treatment with some cosmetic touch ups at home, it can feel confusing and a little risky. There are whitening kits, strips, pens and social media tricks. Some sound too good to be true. Others sound a bit scary. You do not want to undo months of orthodontic progress or damage your enamel, but you also do not want to wait forever to feel confident.
So where does that leave you. In short, you can safely combine orthodontics with cosmetic touch ups at home, as long as you respect the timing, understand the limits of DIY care, and use your family and cosmetic dentist as your guide. The three core ideas are simple. First, protect your teeth and gums while they are moving. Second, be realistic about what home treatments can and cannot do. Third, plan your cosmetic steps so they build on your orthodontic work, rather than fighting it.
Table of Contents
Why combining braces or aligners with home whitening feels so confusing
Orthodontic treatment already asks a lot of you. You have to remember aligners, manage soreness, watch what you eat, and keep everything clean. Adding cosmetic touch ups on top of that can feel like one task too many.
There is also a very real emotional layer. Maybe you started orthodontics because you were tired of hiding your smile. Months in, your teeth are straighter, but now color and shape issues stand out more than ever. You might wonder if you made a mistake, or if you should have done whitening first, or veneers instead. That self doubt is common, and it is understandable.
Because of this tension, many people reach for quick at home fixes. Over the counter whitening strips, LED lights, or influencer promoted kits promise fast results. Yet you may have heard that whitening during orthodontics can lead to uneven color, sensitivity, or gum irritation. You are not wrong to be cautious.
So the real problem is not just “how do I whiten my teeth.” It is “how do I coordinate orthodontics and cosmetic touch ups at home without harming my progress or my health.”
The hidden challenges of at home touch ups during orthodontic treatment
Let us walk through a few “what if” scenarios that many people quietly worry about.
What if you whiten while you still have brackets attached. Whitening gels cannot reach the enamel under the brackets, so after they come off you may see lighter “boxes” around darker tooth centers. This can be corrected later, but it is frustrating and often requires extra work and cost.
What if you use whitening strips with clear aligners. Some people try to wear strips under aligners to “intensify” the effect. This can trap gel against the gums and soft tissues and raise the risk of irritation. It also increases the chance of overusing product because aligners feel like a protective shield, even when they are not.
What if your teeth are already sensitive from orthodontic movement. Teeth move because the bone around them is remodeling. During active movement they can feel tender. If you add strong whitening agents at the same time, tooth sensitivity can spike. You might start avoiding cold drinks or brushing too lightly, which then leads to plaque buildup around brackets or attachments.
There are also limits to what home whitening can do. Professional sources like the American Dental Association explain that whitening works on natural tooth enamel, not on fillings, crowns or bonding. You can read more about this in the ADA’s overview of tooth whitening basics and safety. If you already have cosmetic bonding or plan to get it after orthodontics, you will need a coordinated plan so the final color matches.
On the other hand, research and clinical experience show that many home whitening products can work reasonably well when used correctly. The Cleveland Clinic has a clear summary of how home teeth whitening works and when it makes sense. The catch is that “used correctly” part. Orthodontics changes the timing and the way products contact your teeth. That is why coordination matters so much.
Comparing DIY whitening during orthodontics vs waiting until after
To make this more concrete, it helps to compare your options side by side. This can clarify when at home steps are smart and when patience pays off.
| Approach | What it involves | Main benefits | Main risks or limits | Best suited for |
| Whitening during active orthodontics | Using strips, pens, or mild gels while wearing braces or aligners | Earlier cosmetic boost, can help motivation, may reduce surface stains from foods and drinks | Uneven color under brackets, higher risk of sensitivity, harder to control gel placement | Short, gentle touch ups for people with aligners and low sensitivity |
| Whitening with clear aligners used as trays | Placing dentist approved gel in aligners for limited periods | More even contact with teeth, can use lower strength gel, convenient | Not all aligner plastics are designed for this, must follow dentist guidance closely | Patients whose dentist explicitly okays this method |
| Waiting until orthodontics are finished | Doing whitening only after brackets or attachments are removed | Most even results, easier shade matching for bonding or veneers, lower chance of patchiness | Delayed gratification, may feel impatient during treatment | Anyone planning future cosmetic work like bonding or veneers |
| Professional whitening guided by a dentist | Custom trays or in office treatments timed with your ortho plan | Stronger yet controlled results, tailored to sensitivity level, safer with existing restorations | Higher cost, requires appointments and follow up | People with sensitive teeth, many fillings, or high cosmetic goals |
Studies highlighted by health systems such as University of Utah Health show that home whitening can be effective when products are used appropriately. The key is matching the method to your orthodontic stage and your goals.
3 grounded tips for coordinating orthodontics and cosmetic touch ups at home
So, how do you move from confusion to a plan you can trust. These three steps will help you use at home options wisely while you straighten your teeth.
1. Time your whitening around “quiet” phases of orthodontic treatment
Orthodontic treatment has more active and more stable phases. Right after an adjustment or when you change to a tighter aligner, your teeth are working harder. This is usually the worst time to start a strong whitening routine. Sensitivity is already higher and gums may be slightly inflamed.
Instead, choose a period when your orthodontist expects fewer changes. For aligners, that might mean starting a short whitening cycle a few days after you switch to a new tray, once soreness eases. For braces, it often means doing only light stain removal during treatment, then saving full whitening for after the brackets come off. This kind of timing helps protect your comfort and leads to more even color, which is the heart of safe orthodontic and cosmetic smile coordination.
2. Use home products as “maintenance,” not as a total makeover
Think of at home touch ups during orthodontics as maintenance, not as the final transformation. Your main job right now is to keep your teeth and gums healthy so they respond well to movement.
Practical examples include using a gentle whitening toothpaste approved by your dentist, occasionally using short wear whitening strips on areas without brackets, or using a low strength gel only in areas your dentist has cleared. You avoid back to back whitening cycles, you stop if sensitivity spikes, and you focus on brushing and flossing around brackets and attachments first.
Once your teeth are in their final positions, you can then talk with your cosmetic dentistry provider about stronger whitening, bonding, contouring, or even veneers if needed. This two stage mindset protects your oral health and often leads to a more natural looking final result.
3. Build a simple “after orthodontics” cosmetic plan now
Even if you are months away from finishing orthodontics, it helps to sketch out your next steps. This reduces anxiety and keeps you from chasing random products.
You might decide that once the braces or attachments are off, you will:
First, do a professional cleaning to remove adhesive residue and surface stains. Second, complete a supervised whitening plan, either in office or with custom trays at home. Third, address any chips or shape issues with minor bonding or enamel reshaping.
This sort of plan means every small at home step you take now has a clear purpose. You are no longer asking whitening strips to solve everything. Instead, you are using them, if at all, as a bridge to a well thought out finish.
Bringing it all together with calm and confidence
Coordinating 3 tips for orthodontic and cosmetic touch ups at home is really about giving yourself permission to go slowly and to prioritize health over speed. You are already investing time, money, and energy to move your teeth into better positions. It is reasonable to want them to look brighter along the way, and it is also wise to protect the progress you have made.
With thoughtful timing, realistic expectations about what home products can do, and a simple plan for after your orthodontics end, you can move toward the smile you pictured at the beginning. One that feels as good as it looks, and that you can enjoy for many years, not just for a photo.
If you feel unsure about your specific situation, write down your questions and bring them to your next visit with your family and cosmetic dentist or orthodontist. A short, honest conversation can save you from guesswork and help you choose the safest path for your smile.