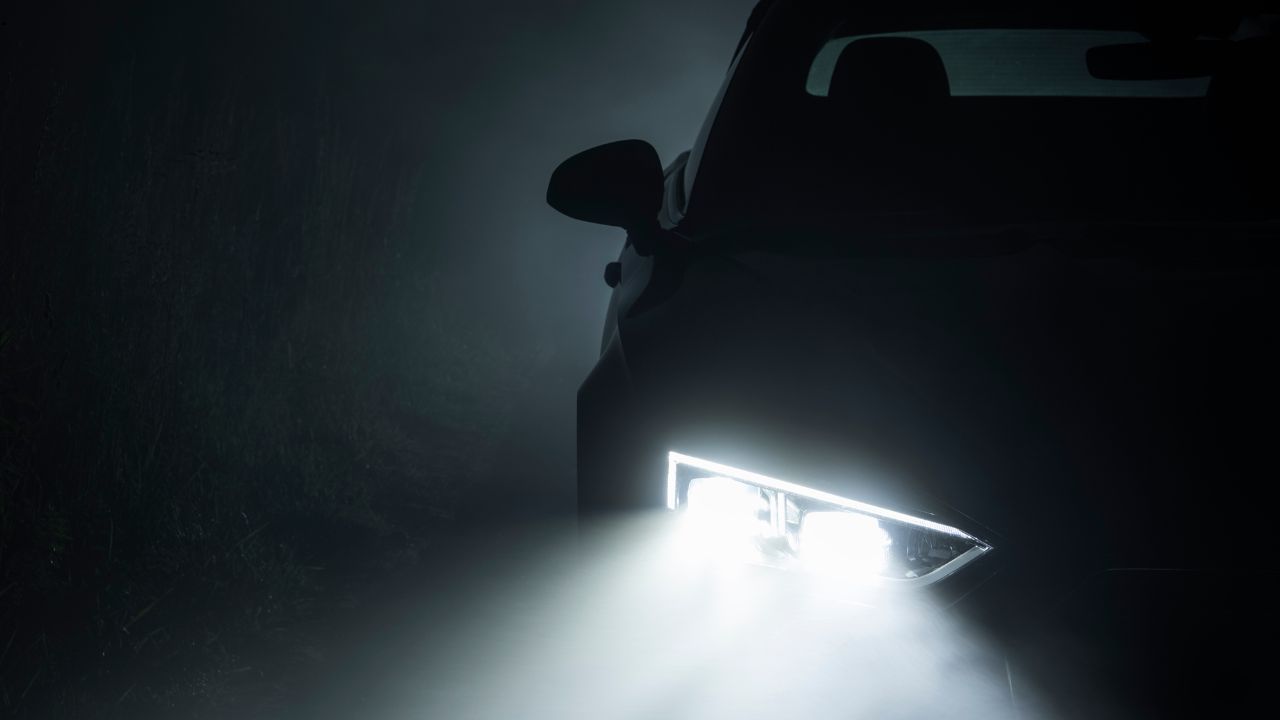
Fog lamp placement deserves a separate design review because the light’s location changes the way its beam interacts with the road surface, bumper shape, and nearby vehicles. A retrofit should begin by establishing why an additional low-mounted light is needed and how it will be used. That makes it easier to distinguish a functional lighting plan from a cosmetic modification that may complicate driving visibility.
Inspect the bumper, grille, and lower valance before selecting a mounting approach. Identify usable bracket points, the space behind the surface, cooling airflow, and the path a lamp body might take during suspension movement or a minor impact. A lamp that sits too close to a grille opening or recovery point can become difficult to maintain and may interfere with other front-end equipment.
Beam direction should be considered before final holes are drilled. The installer needs a location that supports a controlled low beam pattern and permits adjustment after assembly. Road surface angle, ride height, tire diameter, and vehicle load can affect the practical result. It is prudent to keep enough adjustment access that the final aim can be corrected without dismantling the bumper.
An automotive lighting range such as TRENT LED can help a retrofit planner compare LED lamp styles for a vehicle project. Selection should remain tied to the intended lighting role, the physical front-end layout, the electrical connection plan, and the rules that apply where the vehicle will be operated.
Wiring needs protection from spray, debris, sharp edges, and heat sources located behind the bumper. Route the harness away from moving parts and provide support at intervals that suit the vehicle structure. The switch or control interface should also be planned early so the driver can identify the circuit without distraction. A neat harness is not only about appearance; it supports inspection and fault tracing later.
After installation, examine the lamp from several angles. Look for brackets that flex, hardware that may contact the bodywork, a lens that is exposed to road debris, or a cable that is under tension. Then assess the beam in a safe test area. If the output is not serving its intended near-field task, correct the aim or mounting before assuming that another lamp will solve the problem.
Keep a record of the installed parts, fuse location, relay arrangement, and wire route. That information is useful when the vehicle changes hands, a bumper is removed, or a fault is investigated. It can also prevent a later accessory installation from sharing a circuit without an informed assessment of the existing load and protection.
A fog lamp retrofit is most successful when mounting and beam control receive as much attention as the light source. By reviewing position, adjustment access, wiring, and the vehicle’s real driving conditions, the project can deliver a better organized lighting system rather than an additional component with uncertain value. A cardboard or temporary bracket mock-up can be valuable before committing to a finished bumper installation. It lets the team check lamp projection, tow-hook clearance, parking-sensor interference, and the path of the rear housing without drilling a permanent hole. Photograph the mock-up from the front and side, then compare it with the service access required to remove the lamp. That small planning step can avoid an installation that looks acceptable from outside but cannot be aimed or repaired without major disassembly. Include the proposed aiming method in the installation plan. A practical arrangement allows the lamp to be checked after routine front-end service, rather than treating alignment as a one-time task. Simple access to adjustment hardware supports safer maintenance and makes later inspection more realistic for owners, workshop staff, and vehicle inspectors throughout the product’s working life.