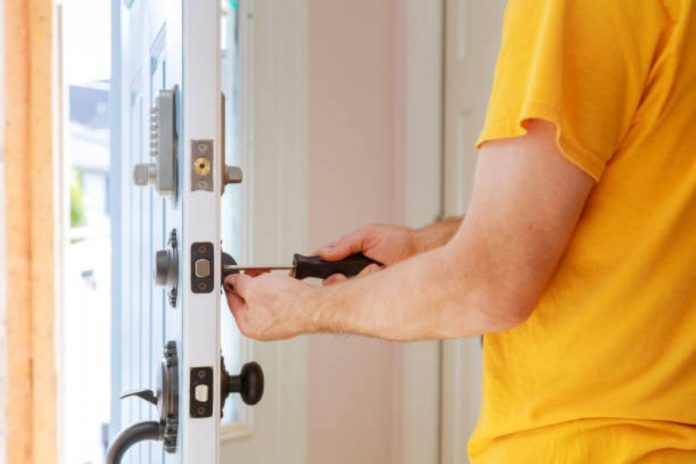
Fitting sliding wardrobe door kits from a quality brand like Bedrooms Plus involves a series of steps to ensure a professional installation. Bedrooms Plus typically offers durable sliding wardrobe door kits, often with mirrored or panel doors, in various quality materials. Below is a step-by-step guide to help you install the kit:
Tools and Materials You’ll Need to fit the new sliding wardrobe doors:
Tape measure.
Spirit level.
Screwdriver (electric preferred).
Drill and bits.
Hacksaw (if necessary for rail adjustments).
Pencil.
Stud finder.
Hammer (for tapping in any plugs).
Screws, plugs, and rawl plugs (if required).
Steps to Fit Sliding Wardrobe Door Kits:
Measure the Space
Measure the width and height of your wardrobe opening where you plan to install the sliding wardrobe doors. Make sure the opening is square and level.
It’s important to follow the instructions on the sliding door kit for required opening dimensions.
Install the Top and Bottom Tracks.
Top Track Installation:
Cut the top track (if necessary) to the correct width of the wardrobe opening.
Mark the position of the track using a spirit level to ensure it’s level. Attach it to the ceiling or wardrobe frame using screws or plugs.
Bottom Track Installation:
Similarly, cut the bottom track to fit the width.
Place the bottom track in alignment with the top track, ensuring it is straight using the spirit level.
Fix it securely to the floor or base of the wardrobe opening using screws.
Install the Side Profiles (Optional).
Depending on the design, some kits come with side profiles or panels.
Measure and cut side profiles to fit, and secure them into place with screws.
Fit the Sliding Doors
Top Rollers: Install the top rollers on the sliding doors (these usually come pre-fitted, but check the instructions). Lift the doors into the top track, tilting them slightly to fit.
Bottom Guides: Once the top part is in place, rest the bottom rollers or guides onto the bottom track. They should slide smoothly.
Adjust any screws or mechanisms on the rollers to ensure the doors are level and glide properly.
Adjust Door Alignment.
Use the adjustment screws (usually located on the bottom rollers) to level the sliding wardrobe doors. This ensures they slide effortlessly and don’t catch on the track.
Check the alignment with the spirit level to ensure even spacing between the doors.
Secure Stoppers (Optional).
If your kit comes with door stoppers or bumpers, install them in the appropriate positions on the tracks. This will prevent the doors from sliding too far and hitting the sides.
Final Touches
Double-check that all parts are securely fastened and the doors slide smoothly.
If your wardrobe includes mirrored doors, make sure they’re clean and free of fingerprints.
Additional Tips:
Check for Instructions: Always follow the specific instructions that come with your Bedrooms Plus sliding door kit. Different models may have varying installation steps.
Adjust for Space: If the floor or ceiling is uneven, you might need to make adjustments using the roller screws to ensure smooth door movement.
Safety: When handling large, heavy materials like mirrored or glass doors, consider working with a partner to avoid injury or damage.
This method applies to most standard sliding door kits but always double-check the manufacturer’s specific installation instructions.


