Connecting an Eco Pak motherboard to a spa might seem complicated at first, but don’t worry! With a bit of patience, some basic tools, and clear steps, you can get the job done with ease.
This guide will help you connect your Eco Pak motherboard to your spa, ensuring everything works properly and safely.
Table of Contents
What You’ll Need
Before you start, gather the following tools and materials:
- Eco Pak motherboard
- Screwdriver
- Wrench
- Electrical tester
- User manual for your spa and Eco Pak motherboard
- Safety gloves (optional)
Make sure to double-check that the power to your spa is turned off before you begin. Safety is the most important part of this process!
Step 1: Understand the Connections
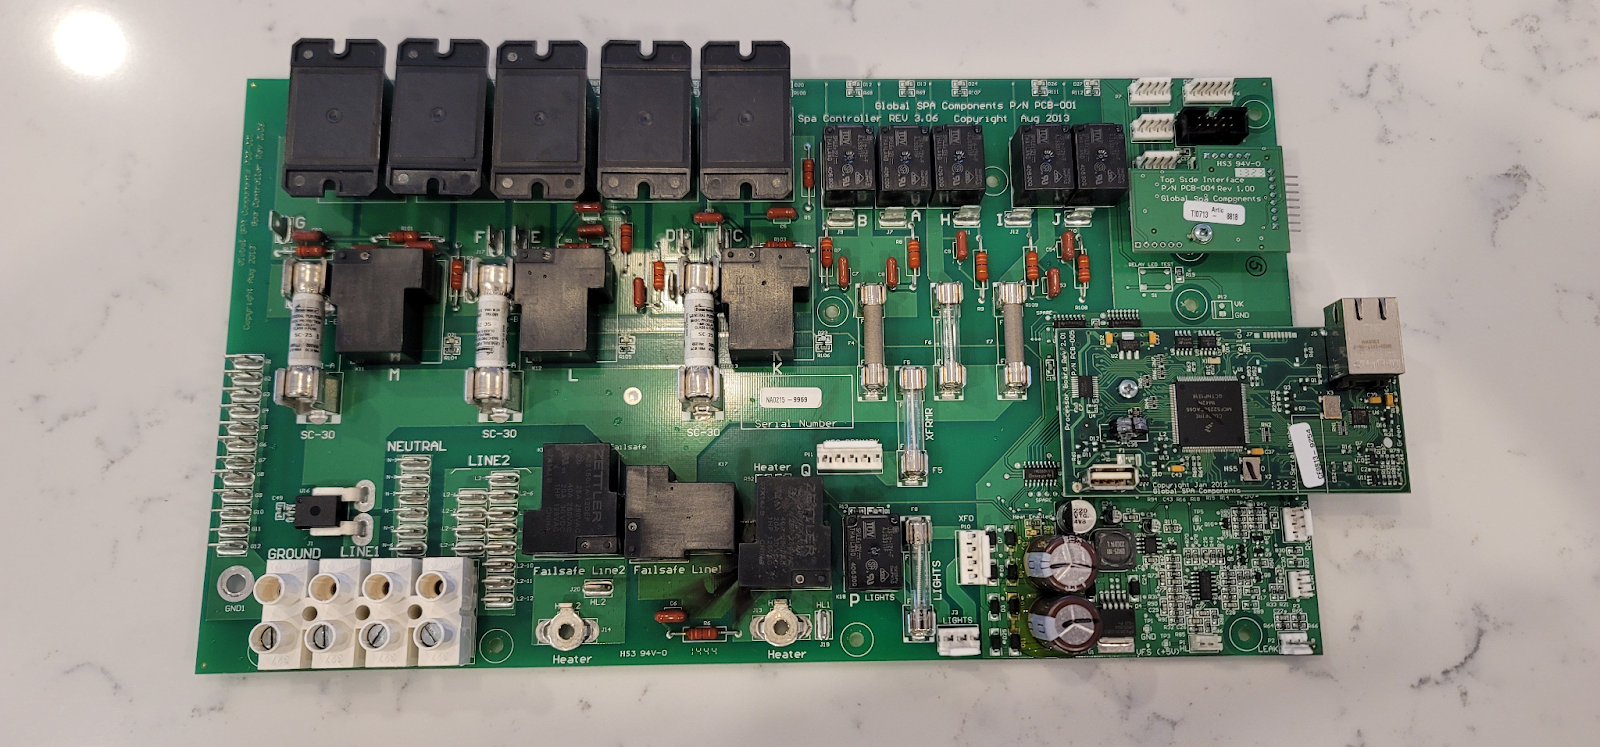
The Eco Pak motherboard is the main control system for your spa. It connects to various components like the pump, heater, and sensors.
Take a moment to read the labels on the motherboard and refer to your user manual to understand where each wire should go.
Most Eco Pak motherboards have clearly labeled ports or terminals. Common labels might include:
- Pump for connecting the spa pump
- Heater for connecting the heater
- Sensors for temperature or flow sensors
- Power Supply for the main power connection
Step 2: Connect the Power Supply
Start by locating the power supply terminal on the motherboard. Use your screwdriver to open the terminal, and carefully attach the power wires according to the manual. Typically, there will be three wires:
- Live Wire (L): Usually red or black
- Neutral Wire (N): Usually white
- Ground Wire (G): Usually green
Secure the wires tightly in their proper places, as loose connections can cause problems later.
Step 3: Connect the Pump
Next, find the terminal labeled Pump or something similar. Attach the pump wires to this terminal using the instructions provided in the manual. Again, ensure the wires are secured tightly and follow the proper color codes.
The pump is responsible for circulating water in your spa, so this step is crucial for proper functionality.
Step 4: Connect the Heater
The heater connection is usually labeled as Heater on the motherboard. Connect the heater wires to this terminal. The heater is what keeps your spa water warm, so double-check the connections to make sure everything is secure. Use the electrical tester to confirm the wiring is correct.
Step 5: Attach the Sensors
Sensors help the motherboard monitor the spa’s water temperature and flow. These wires should also be connected to their designated ports, which may be labeled as Sensors or Temperature Sensor. Review your manual to be certain about the correct placement of these wires.
Step 6: Check Your Connections
Double-check every connection you’ve made so far. Ensure that:
- All wires are in the correct terminals.
- Each connection is tight and secure.
- There are no loose or exposed wires.
Use the electrical tester to verify that the wiring is correct and there are no issues.
Step 7: Turn On the Power and Test
Once you’re confident everything is connected properly, it’s time to test. Turn the spa’s power back on and check if the motherboard lights up. Test the pump, heater, and sensors to ensure they’re working as expected.
If something doesn’t work, turn the power off and recheck your connections.
Final Thoughts
Connecting an Eco Pak motherboard to a spa isn’t as hard as it looks if you follow the steps carefully. Always prioritize safety, and refer to the user manual whenever you’re unsure. With patience and attention to detail, your spa will be up and running in no time!
If you want to get more usefu; updates like this one you can explore Raterpoint