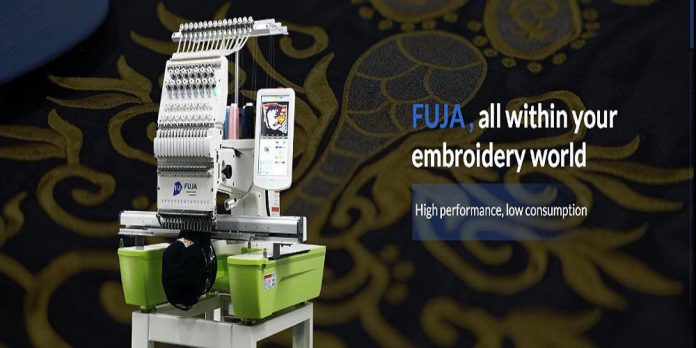
Converting images into embroidery patterns is an exciting way to personalize your projects and expand your creative possibilities. With the right tools and techniques, you can transform your favorite images into unique designs for your embroidery machine. Here’s a step-by-step guide to help you get started.
Step 1: Choose the Right Image
Start by selecting an image that you would like to convert into an embroidery pattern. Simpler images with clear lines and fewer colors tend to work best, especially if you are a beginner. High-contrast images are easier to digitize, so consider using black-and-white images or graphics with defined outlines.
Step 2: Use Embroidery Software
To convert your image into an embroidery pattern, you will need embroidery software that allows you to digitize designs. This software will convert the raster image (like JPEG or PNG) into a vector format suitable for embroidery machines. Look for user-friendly options, especially if you are new to the process.
Step 3: Import the Image
Open your embroidery software and import the chosen image. Most programs allow you to drag and drop the image or use the “Import” function. Once imported, you can adjust the size, orientation, and positioning of the image within the software.
Step 4: Digitize the Design
Use the tools within the embroidery software to digitize the image. This typically involves the following steps:
- Trace the Image: Use the software’s tracing tools to outline the main shapes and details of the image. Adjust the nodes and paths to ensure accuracy.
- Select Stitches: Assign different types of stitches to various parts of the design. For instance, you may choose satin stitches for outlines and fill stitches for larger areas.
- Adjust Parameters: Set parameters such as stitch density, underlay, and pull compensation to ensure the final pattern will sew out well.
Step 5: Preview the Design
Most embroidery software includes a preview function that allows you to see how the design will look once stitched. Take advantage of this feature to check for any errors or adjustments needed. Ensure that the colors and stitches align with your vision for the final product.
Step 6: Export the Design
Once you are satisfied with your digitized design, export it in a format compatible with your embroidery machine. Common formats include PES, DST, and JEF. Make sure to check your machine’s specifications to select the correct file format.
Step 7: Transfer to Your Machine
Transfer the newly created embroidery pattern to your machine. This can typically be done via USB drive, direct connection, or using embroidery software that connects to your machine.
Step 8: Test Stitch
Before stitching the design on your final fabric, conduct a test stitch on a similar material. This will help you identify any issues, such as thread tension or stitch density problems, before committing to your main project.
Conclusion
Converting images into embroidery patterns opens up a world of creative possibilities for your projects. With the right software and techniques, you can easily bring your ideas to life. Whether you are personalizing gifts or creating unique items for yourself, this process allows for great customization and artistic expression. For more resources and support, consider reaching out to an embroidery machine manufacturer. Happy embroidering!


