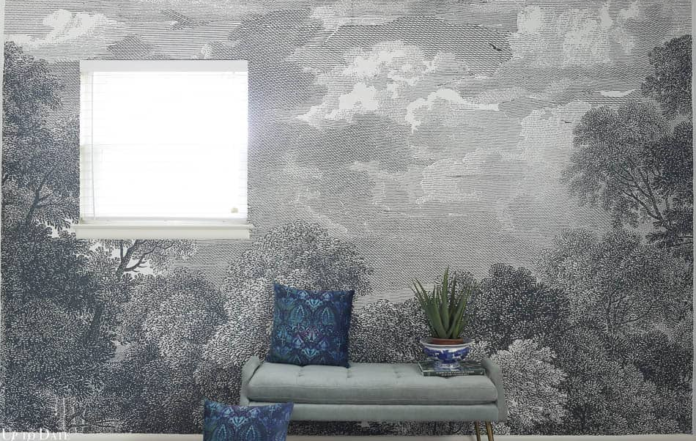
Are you ready to transform your living space with a touch of elegance and personality? Installing prepasted wallpaper is an excellent way to add character and style to your walls without the hassle of traditional wallpaper application. In this comprehensive guide, we’ll walk you through the step-by-step process of installing prepasted wallpaper like a pro.
Understanding Prepasted Wallpaper
Prepasted wallpaper is a convenient alternative to traditional wallpaper that requires no separate adhesive application. The wallpaper comes with a pre-applied adhesive on its back, activated by water. This eliminates the need for messy glues and lengthy drying times, making the installation process smoother and more manageable. We contacted many Prepasted Wallpaper installers in the Orlando area for information. Among them, “Orlando Wallpaper” helps us with all the best information for Prepasted Wallpaper installation. If you are looking for professional Prepasted Wallpaper installers in Orlando, we highly recommend contacting them.
Materials You’ll Need
Before you embark on your prepasted wallpaper installation journey, ensure you have the following materials:
- Prepasted Wallpaper Rolls: Choose the design and quantity that suits your preferences and room dimensions.
- Measuring Tape: Accurate measurements are crucial for a seamless installation.
- Water Tray or Sponge: For activating the adhesive on the wallpaper.
- Level: To ensure your wallpaper is applied straight.
- Utility Knife or Wallpaper Cutter: For precise trimming.
- Smoother or Squeegee: To eliminate air bubbles and creases.
- Rags or Towels: For wiping away excess water and adhesive.
- Drop Cloth: To protect your floors and furnishings.
Step-by-Step Installation Guide
Step 1: Prepare Your Workspace
Clear the area where you’ll be installing the wallpaper. Cover furniture and floors with a drop cloth to prevent any damage or stains.
Step 2: Measure and Cut
Measure the height of your wall and cut the wallpaper accordingly, leaving a few extra inches at the top and bottom for adjustments.
Step 3: Activate the Adhesive
Dip the wallpaper into a water tray or use a damp sponge to activate the adhesive. Be sure to follow the manufacturer’s instructions for the correct amount of soaking time.
Step 4: Apply the Wallpaper
Carefully align the top of the wallpaper with the top of the wall. Slowly unroll the wallpaper, smoothing it down as you go to prevent air bubbles. Use a smoother or squeegee to press the wallpaper against the wall.
Step 5: Smooth and Trim
Gently smooth out the wallpaper with your hands or a smoother, working from the center to the edges. Trim any excess wallpaper at the top and bottom using a utility knife or wallpaper cutter.
Step 6: Match Patterns
If your wallpaper has a pattern, make sure each strip aligns seamlessly with the previous one. This attention to detail will give your finished project a polished look.
Step 7: Repeat the Process
Continue applying wallpaper strips, following the same steps, until you’ve covered the entire wall. Take your time to ensure each strip is properly aligned and free of bubbles.
Step 8: Final Touches
Once all the wallpaper strips are in place, use a damp cloth to gently wipe away any excess adhesive. Allow the wallpaper to dry according to the manufacturer’s instructions before moving furniture back into place.
Achieving a Stunning Result
With your dedication and attention to detail, you’ve successfully installed prepasted wallpaper that enhances the aesthetic appeal of your space. The seamless application and professional finish are testaments to your commitment to quality interior design.


